How to configure Synway Gateway for a connection with Elastix System
Contents
1.Abstract
Elastix is an Open Source Software to establish Unified Communications. About this concept, Elastix goal is to incorporate all the communication alternatives, available at an enterprise level, into a unique solution.
Synway SMG gateway family helps customers access to IP networks from legacy telephony applications more reliably and efficiently. Synway Gateway got certified and is now part of the Hardware that has been successfully tested to be interoperable with Elastix.
This document will help you to configure Synway Digital or Analog Gateway for a connection with Elastix System.
2.Test Environment
Elastix 2.4.0 (32 bit)
Synway Digital Gateway: SMG2120, 1.6.1_2015062617
Synway Analog Gateway:SMG1032, 1.5.2_Release+2015052812
3.Installing Elastix
Please refer to http://blogs.elastix.org/en/manuals/#toggle-id-1, you can find Elastix 2 Installation Guide manual.
4.Configuring Synway Digital Gateway for a Connection with Elastix
Elastix IP Address: 192.168.10.163
Synway Digital Gateway IP Address: 192.168.10.248
Synway Digital Gateway E1 port PCM0 connects to E1 endpoint , here we use Synway SHD digital trunk board as the E1 endpoint, both are configured in PRI protocol
Below is the configuration among Elastix System, Eyebeam, and Synway Digital Gateway, try to make calls from these scenarios:
a) Eyebeam-->Elastix-->Digital Gateway-->E1 Endpoint
b) E1 Endpoint-->Digital Gateway-->Elastix-->Eyebeam
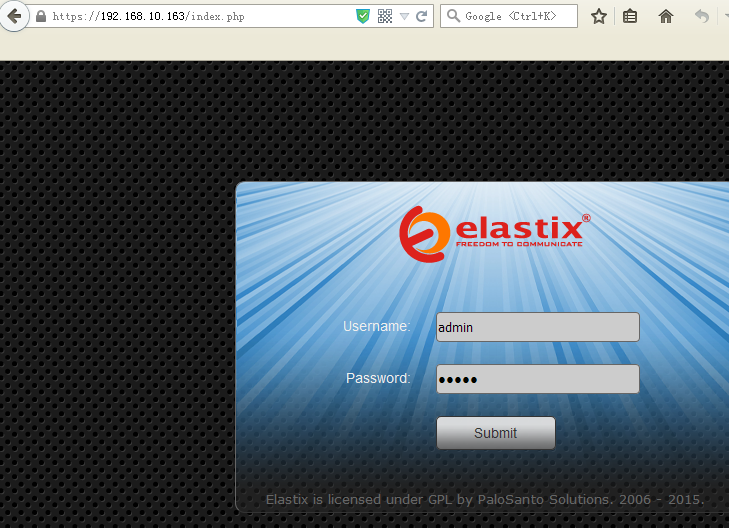
1)To configure the Elastix system, start a web browser and enter the IP address of the Elastix System. Here is an example, http://192.168.10.163.
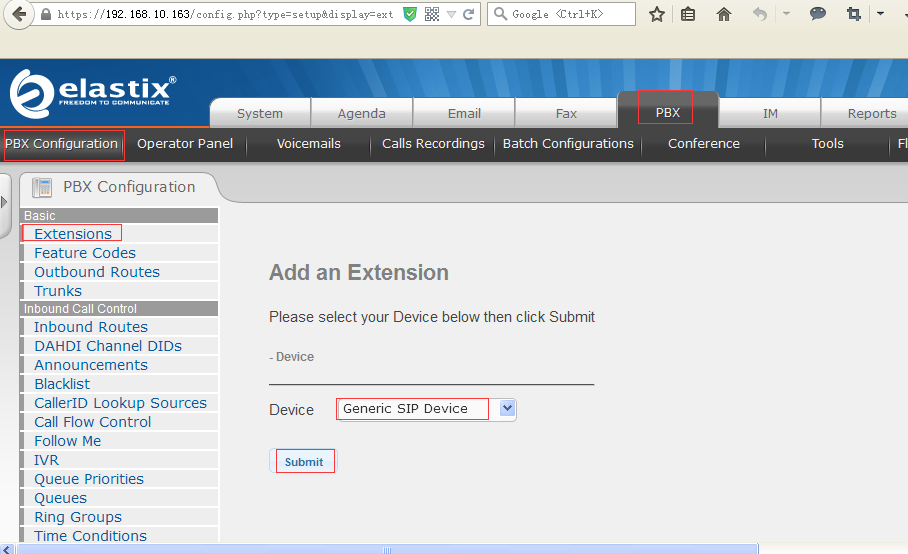
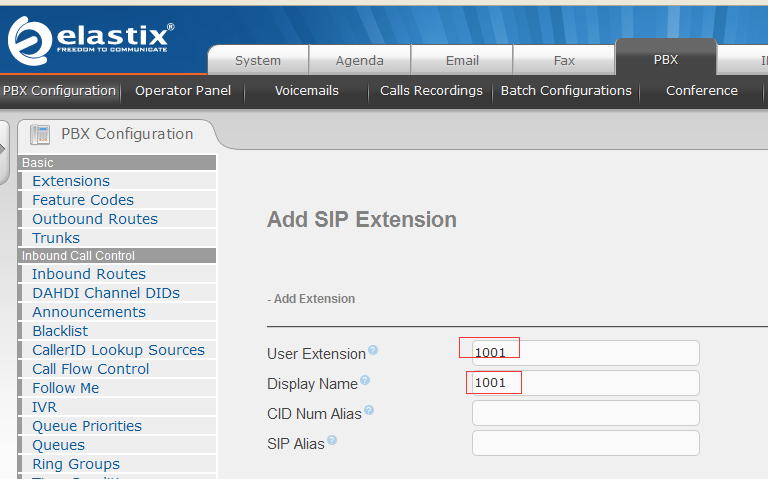
2)To add an extension, go to the ‘PBX’ menu, which by default goes to to the ‘PBX Configuration’ section, choose the option ‘Extensions’ on the left panel, select device type as ‘Generic SIP Device’, click ‘Submit’, then specify a user extension, display name and password for this extension, do not forget to click ‘Apply Config’ after any change at last.


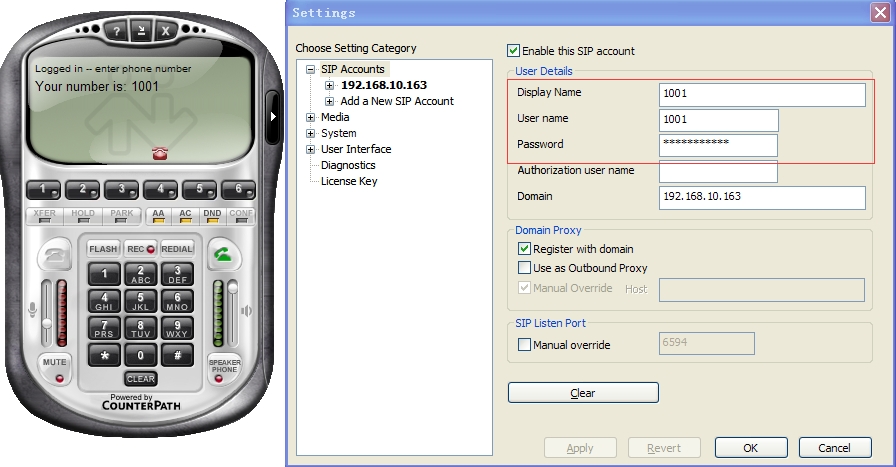
3)To set an Eyebeam registering to the Elastix System, the User name and Password fields here must match the extension in the Elastix System.
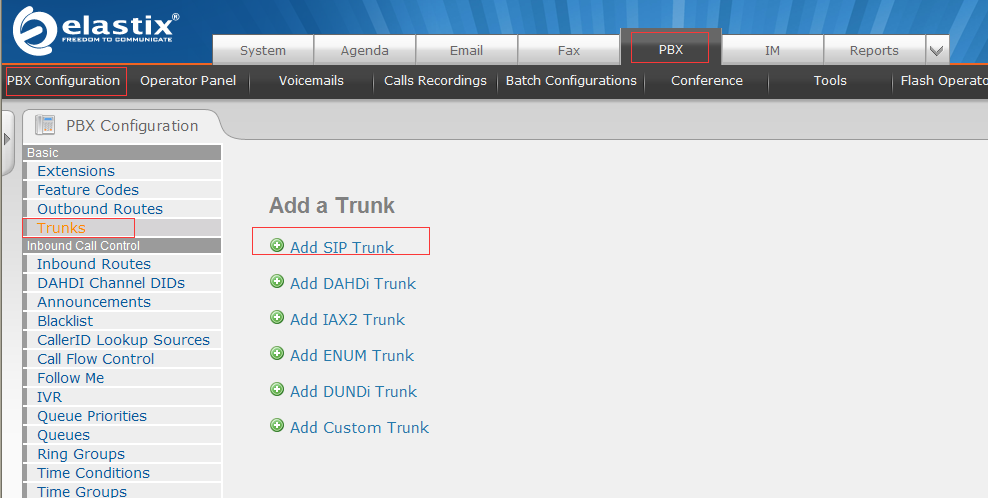
4)To add a Synway Digital Gateway as a Sip Trunk, click on ‘Trunks’ from the toolbar, follow below steps to add a ‘Digital_SMG’ sip trunk.

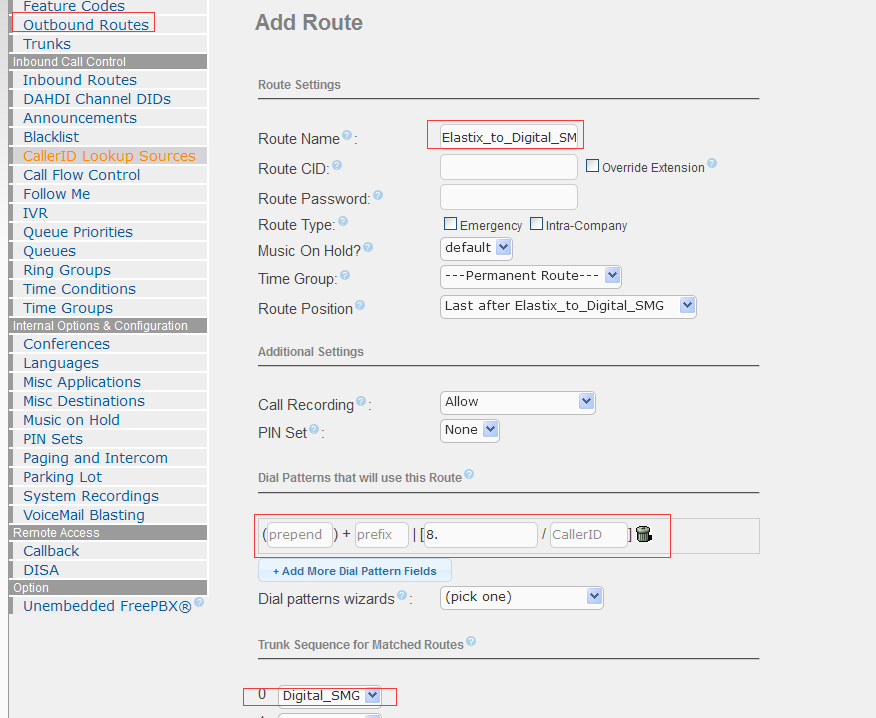
5)Create an outbound call rule to Synway Digital SMG. For example, when making an outbound call from the extension 1001, the other side will receive a call with caller Id 1001, here the dial pattern is ‘8.’, which means the callee id starting with 8, can be routed to the ‘Digital_SMG’ SIP trunk.
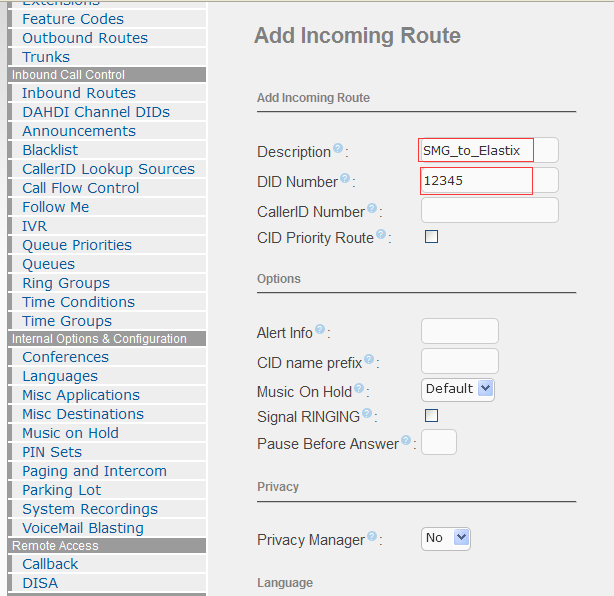
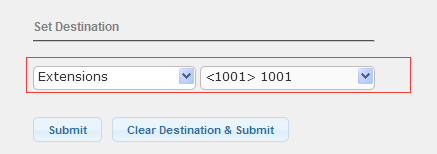
6)Create an inbound call rule with DID Number ‘12345’, which means call from the Synway Digital Gateway Sip Trunk with callee ID 12345 will be accepted by the Elastix System, and this call will be transferred to extension ‘1001’.
7)To configure Synway Digital Gateway connecting with Elastix System, start a web browser and enter the IP address of the Synway Digital Gateway.
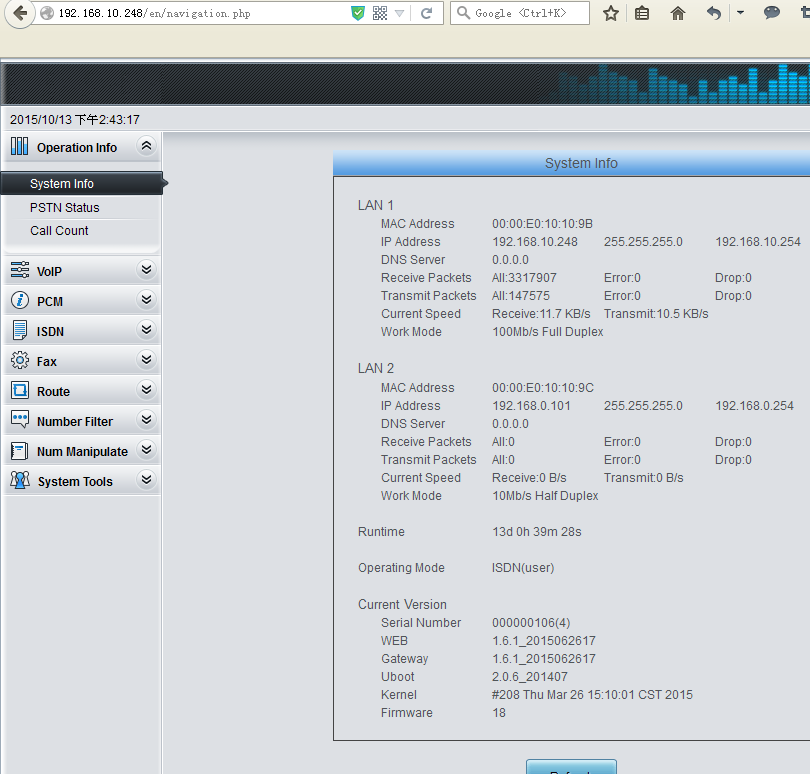
8)Click on ‘SIP Trunk’ from the toolbar, add the Elastix System as a sip trunk, here the Elastix IP address is 192.168.10.163, and port is 5060.

9)Click on ‘SIP Trunk Group’ on the toolbar, add the SIP Trunk 0 into SIP Trunk Group 0

10)Click on ‘PCM Trunk Group’ on the toolbar, according to the requirement, add related PCM Trunk(s) into PCM Trunk Group. Here add all the PCM Trunks 0,1,2,3 into PCM Trunk Group 0.

11)Click on ‘Route\ IP->PSTN’ on the toolbar, call from the Elastix System will be routed to PCM Trunk Group 0.

12)Click on ‘Route\ PSTN->IP’ from the toolbar, call from E1 Endpoint will be routed to SIP Trunk Group 0.

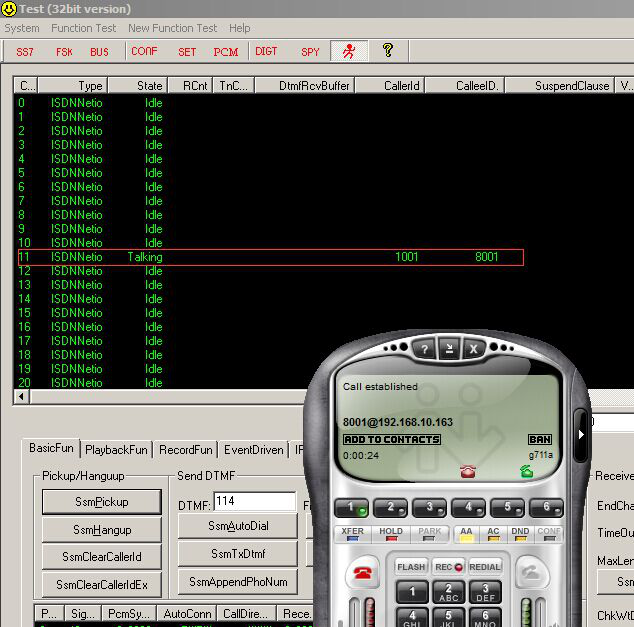
13)Extension 1001 in the Elastix System made a call 8001 to Synway Digital Gateway, it finally reached to E1 Endpoint with caller Id 1001, and callee Id 8001.
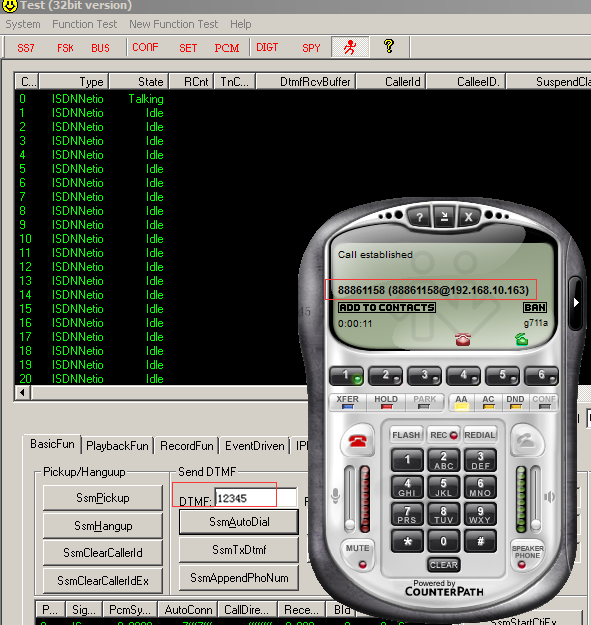
14) E1 endpoint made a call ‘12345’ to the Synway Digital Gateway, it finally reached to extension 1001 in the Elastix System.
5.Configuring Synway Analog Gateway for a Connection with Elastix
Elastix IP Address: 192.168.10.163
Synway Analog Gateway IP Address: 192.168.10.189
Below is the configuration among Elastix System, and Synway Analog Gateway, FXS 9 and FXS 10 in the Synway Analog Gateway registered to Elastix, try to make calls from these scenarios:
a)FXS-->Elastix-->FXS
b)FXS-->Elastix-->Eyebeam
c)Eybeam-->Elastix-->FXS
d)Eybeam-->Elastix-->Analog Gateway-->PSTN
e)PSTN-->Analog Gateway-->Elastix-->Eyebeam